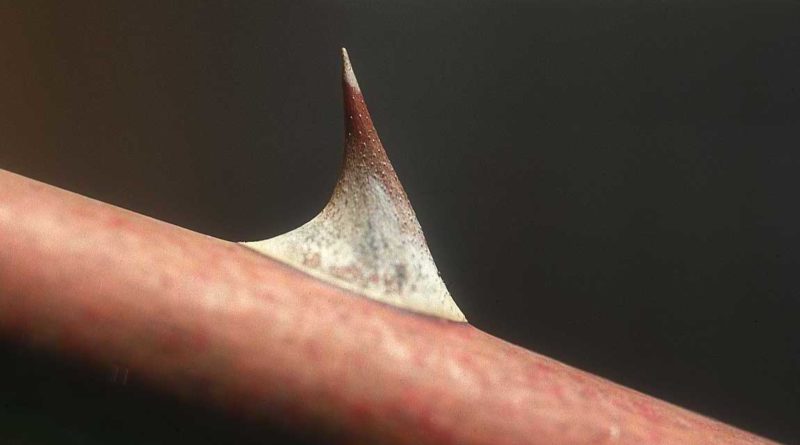
Macro Photography: A Comprehensive Guide to Capturing Stunning Close-Up Shots
Macro photography offers a fascinating glimpse into the intricate world that often goes unnoticed by the naked eye. Whether you’re capturing the delicate details of a flower, the texture of an insect’s wing, or the tiny droplets on a leaf, macro photography allows you to explore a whole new dimension of creativity. In this guide, we will delve into the techniques, equipment, and tips needed to take the best macro pictures and elevate your photography skills.
- Understanding Macro Photography
Macro photography involves capturing subjects at a 1:1 scale or larger, revealing fine details that are not easily visible in regular photographs. To achieve this, a dedicated macro lens is essential. These lenses are designed to focus at close distances, ensuring sharp and detailed images. Popular focal lengths for macro lenses include 50mm, 60mm, and 100mm.
- Choosing the Right Equipment
a. Macro Lens: Invest in a good quality macro lens suitable for your camera. Choose a focal length based on your preferences – shorter focal lengths for wider shots and longer focal lengths for more working distance.
b. Tripod: Stability is crucial in macro photography to avoid camera shake. A sturdy tripod helps maintain sharpness, especially when shooting at slower shutter speeds.
c. Remote Shutter Release: Minimize vibrations by using a remote shutter release or the camera’s self-timer function when capturing macro shots.
- Mastering Depth of Field
Macro photography often involves working with a shallow depth of field. To control the area in focus, use a small aperture (higher f-number). This allows you to capture intricate details while keeping the background beautifully blurred. However, be cautious not to go too high with the aperture, as diffraction can impact image sharpness.
- Lighting Techniques
a. Natural Light: Utilize natural light whenever possible, as it provides a soft and flattering illumination. Shoot during the golden hours – early morning or late afternoon – for warm and directional light.
b. Diffused Light: Direct sunlight can create harsh shadows, so consider diffusing the light using a reflector or a diffuser. This softens the light and reduces harsh contrasts.
c. Artificial Lighting: Experiment with external flashes or LED lights to add controlled lighting to your macro subjects. Diffusers or bounce cards can help soften the light and eliminate harsh shadows.
- Composition Tips
a. Rule of Thirds: Apply the rule of thirds to create visually appealing compositions. Position your subject off-center for a more balanced and engaging photograph.
b. Background Selection: Pay attention to the background as it can significantly impact the final image. Choose simple, unobtrusive backgrounds to highlight your subject.
c. Experiment with Angles: Get creative with your shooting angles. Try shooting from various perspectives to discover unique and captivating compositions.
- Patience and Persistence
Macro photography demands patience and persistence. Subjects may move, lighting conditions can change rapidly, and achieving precise focus requires practice. Take your time, and be prepared to invest effort into refining your skills over time.
- Post-Processing Techniques
Once you’ve captured your macro shots, consider enhancing them through post-processing. Adjusting contrast, saturation, and sharpness can elevate your images. Experiment with different editing tools to bring out the best in your macro photographs.
Macro photography opens up a world of wonders, allowing you to explore and capture the intricate details of the small and often overlooked aspects of life. By understanding the equipment, techniques, and tips outlined in this guide, you can embark on a journey to take the best macro pictures and elevate your photography to new heights. Remember, practice is key, so get out there, experiment, and let your creativity flourish in the miniature landscapes that macro photography unveils.

